Help: SoqlX v4.6
|
| Contents: |
Login
Starting with SoqlX v4.2 OAuth is used to connect to Salesforce. This uses the regular Web UI login followed by an authorization step. OAuth has the advantage of being able to work with more complex login configurations such as SSO, 2FA etc.
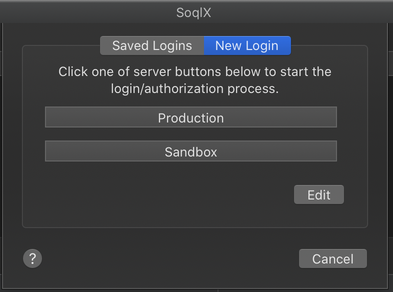 From the login sheet click either Production or Sandbox from to start the login process. At this point
a browser will be opened and you'll be asked to login (if not already logged into Salesforce) and then
authorize the app.
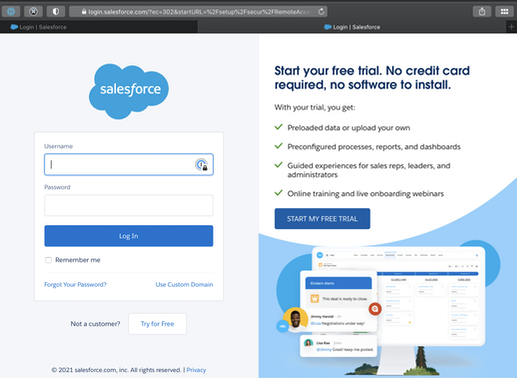
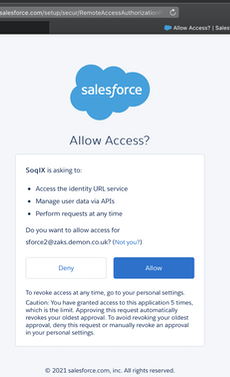
Once logged in you'll be asked if you want to allow SoqlX to use the API.
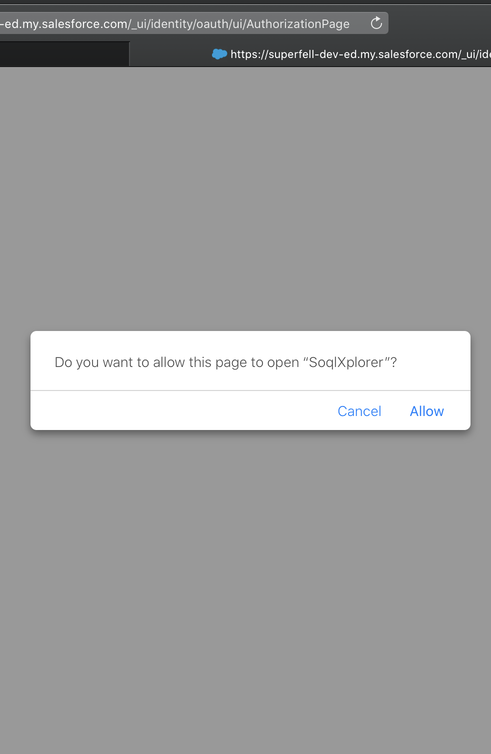 After clicking the Allow button, control will switch back to SoqlX, typically the browser will prompt to
confirm that.
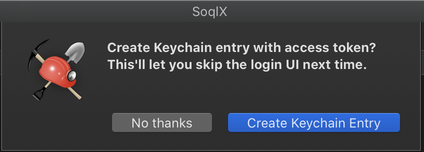 SoqlX will ask if you'd like to save the login token for later use. If so the token will be stored securely in the
OSX keychain. Subsequent logins will allow you to login to SoqlX with a single click, skipping the browser steps.
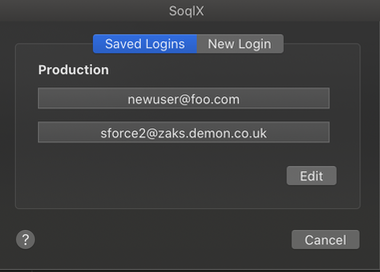 Next time you need to login, the login sheet will show all the saved login tokens, with the most recently used one
at the top. Click the relevant button to login to that account. If the token is still valid you'll be directly logged
into SoqlX, no need for the browser steps.
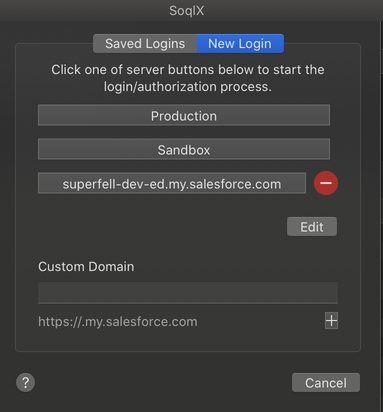 If your organization requires the use of My Domains, then you can use the edit button in the new login tab to add my domain
entries to the list of options.
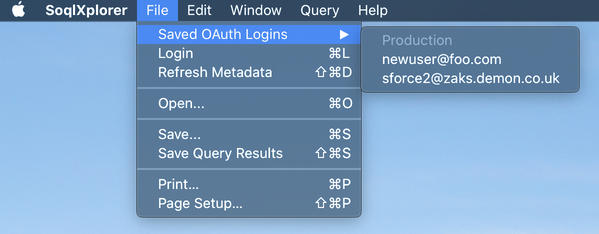 Using the File menu you can choose login and open more SoqlX windows, these can be for the same
user, or for different users. There is also the option to login directly from a previously saved login.
Queries
To execute a SOQL query, type the query into the box at the top, click Query (or Query All).
The results will appear in the table, or for count queries in the bottom left hand corner.
The Query All button will run the query with the QueryAll API, which includes soft deleted and
archived results. (This is the equivalent of ALL ROWS in Apex).
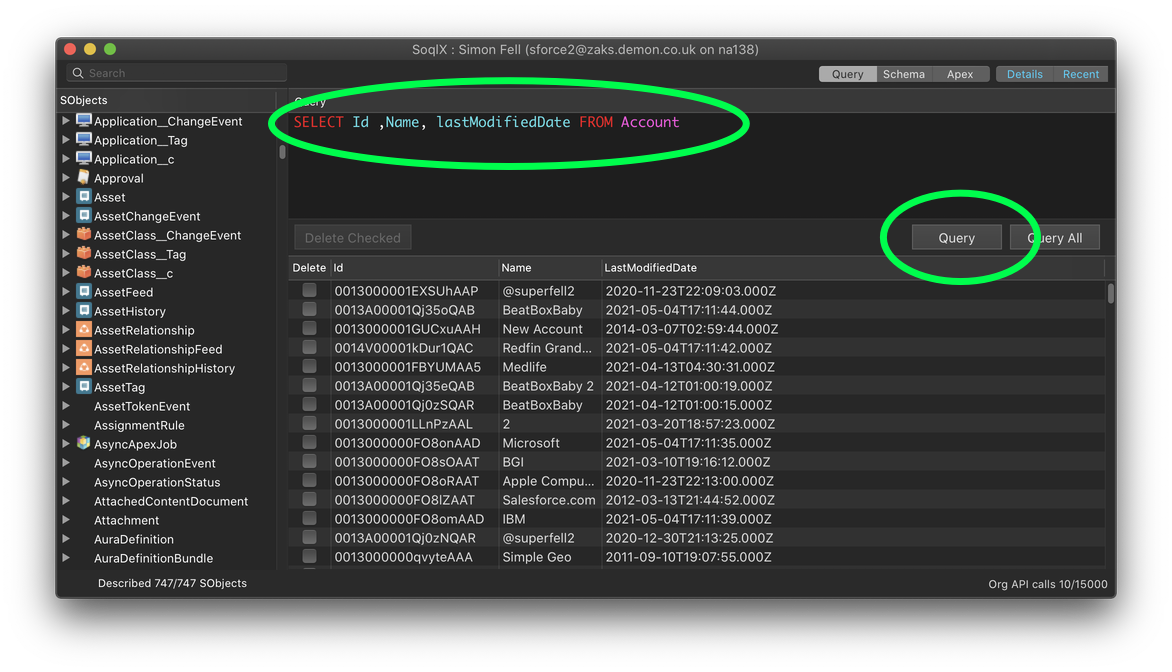
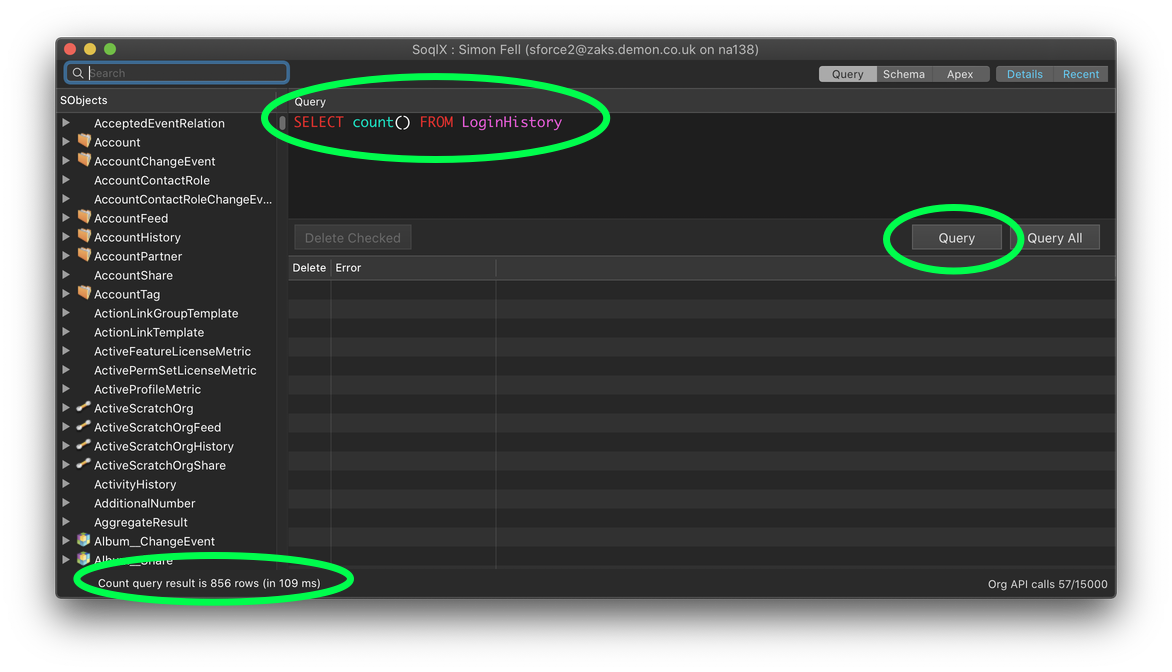
As you are typing the query SoqlX can supply completions for SObject, field and function names. The options will popup when the cursor is at the end of the word, select an item to have it inserted into the query. The best completions are available when the query is structurally valid, start with a a base 'select id from account' query and then go back and type in the remaining items in the select clause for the best experience.
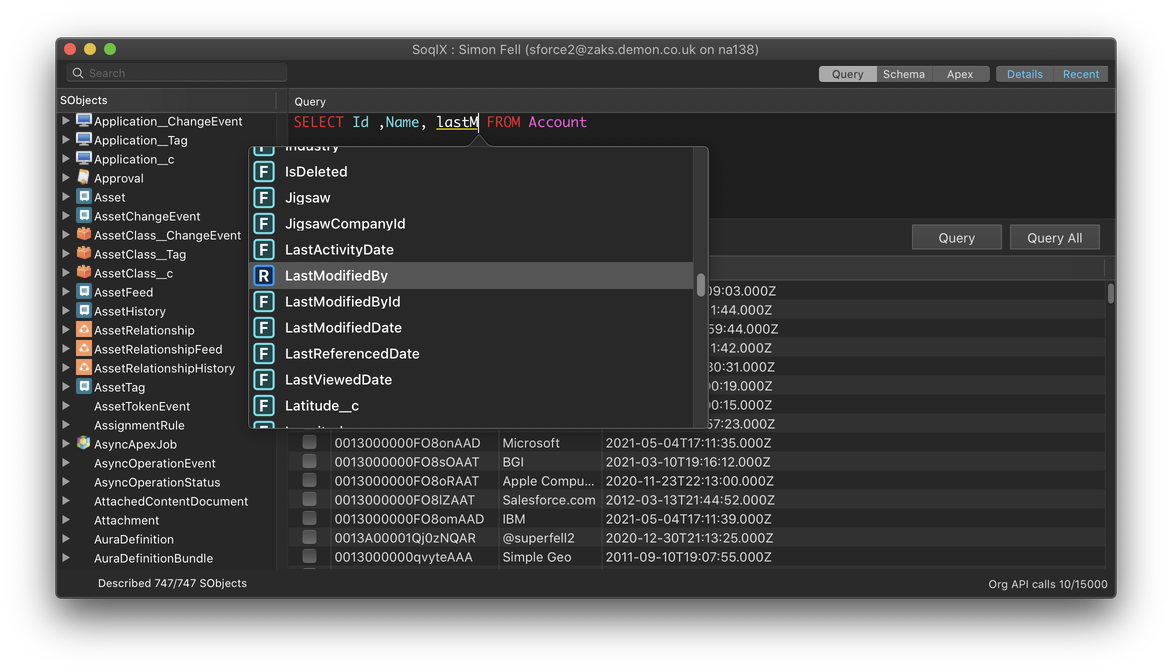
When the auto completions popup is visible, you can continue typing and the selection will adjust accordingly. You can use the cursor up / down and page up / down keys to move through the list, and press enter to select the currently highlighted item. You can use escape to close the popup without making a selection. You can also use the mouse to navigate around the popup. If you closed the popup but want it back you can press F5 to re-open the popup.
The completions are context aware, so for example if you're select a field for a group by clause, it will only show fields that are actually groupable by. If there's an error in the query then the relevant part of the query will be underlined in yellow and you can click on that text to see the error details. Errors can include things like the object or field name is not valid as well as syntax errors in the query. SoqlX is not aware of everything that makes a query invalid, so at times it will not show an error but when the query is executed an error is returned. However it should never say that a valid query has an error.
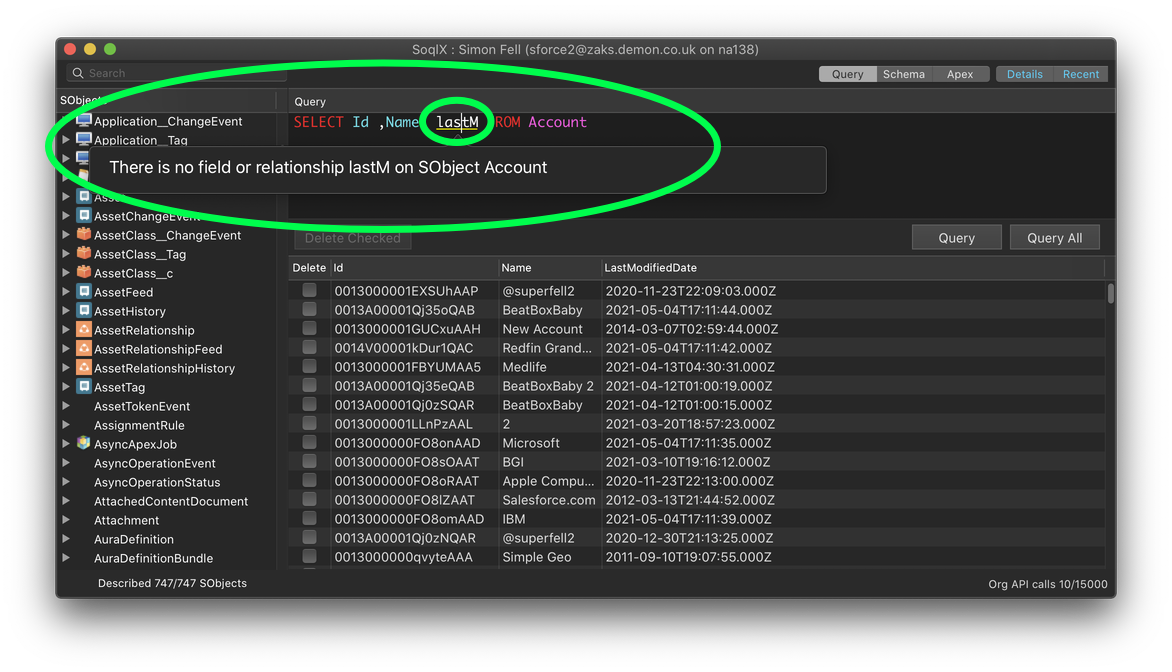
By default the keywords in the query will be automatically converted to upper case as you type. If you don't want this to happen you can turn it off in the preferences. You can also completely disable the syntax highlighting and auto completions from the preferences as well.
Completions are also available for SOSL queries, and work exactly the same way.
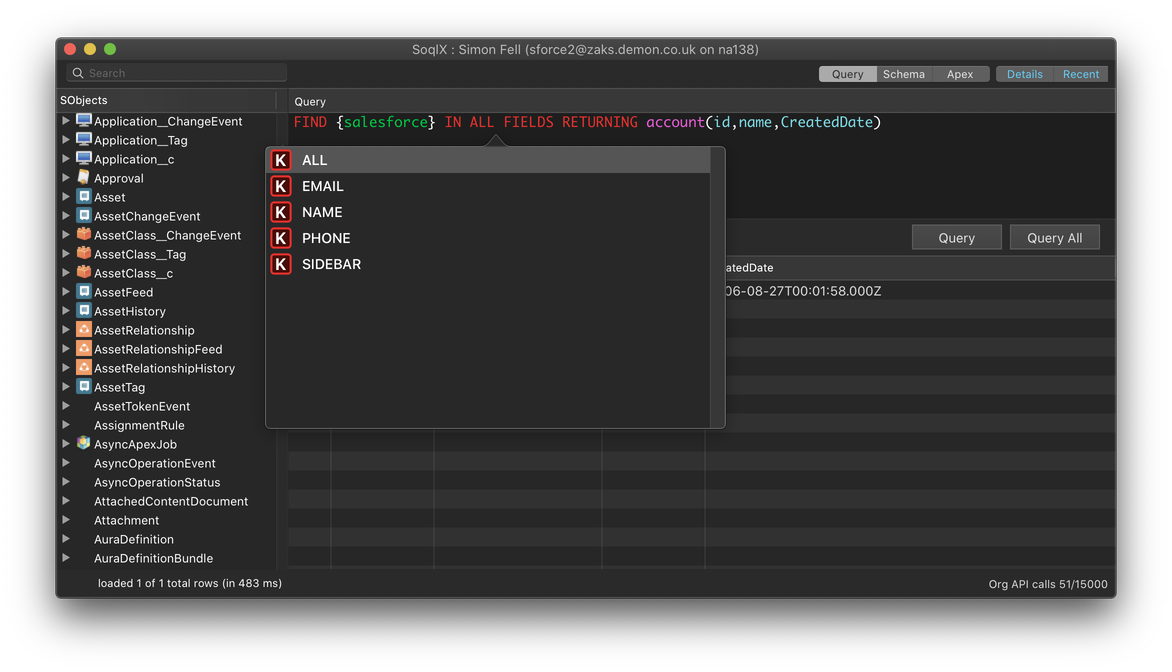
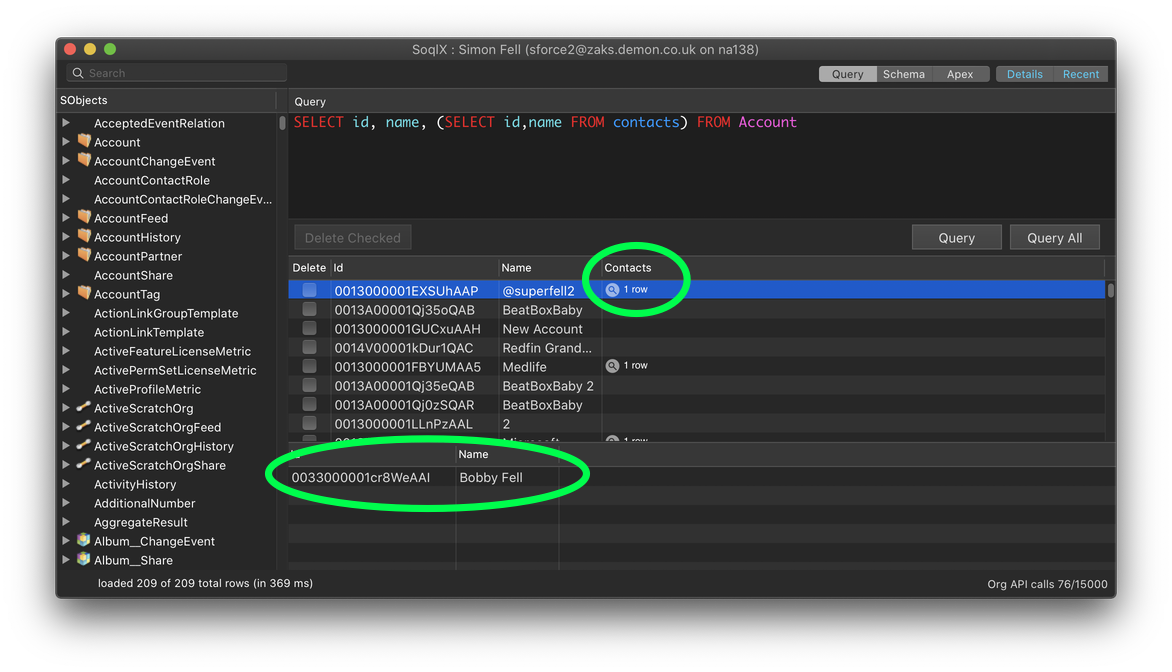
SOQL-R is supported, so you can do both queries that access foreign key relationships
(like accessing account from a contact), and also aggregate child queries
(like select accounts, and the contacts for each account).
Double click the magnifying glass to expand the 2nd query table at the bottom,
showing the child rows for that particular parent row.
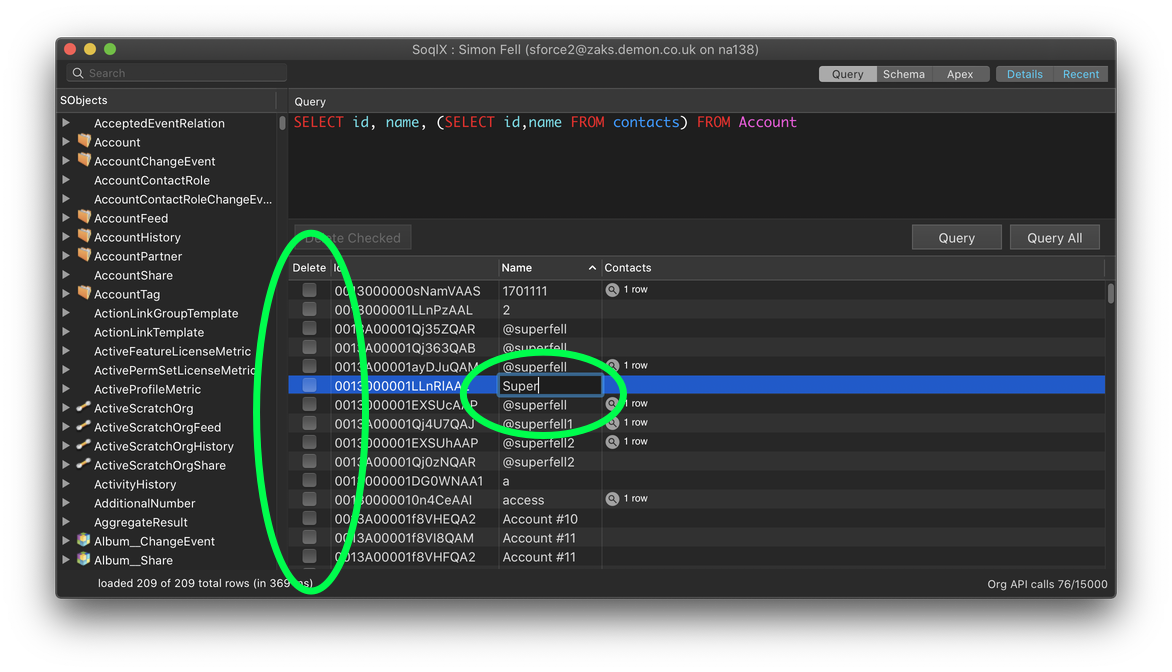
You can sort the results by clicking the column headers.

If you queried the Id column then you can edit data inline. Double click the cell and type
in your new value. When the cell looses focus the record in Salesforce will be updated.
You can also check the deleted checkbox and hit the delete button to delete row(s).
Click the Delete column header to quickly toggle the checkbox on all rows.
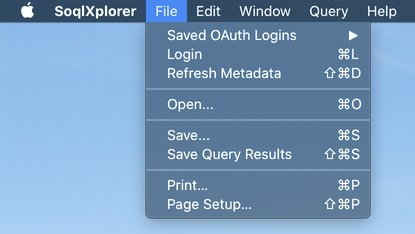 Using the File menu, you can save the query results to a CSV file, or save the text of the query itself.
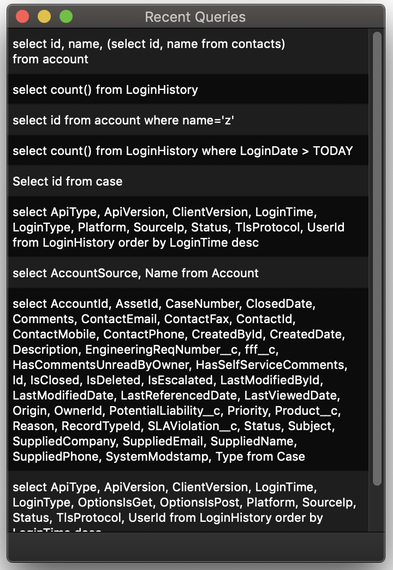 The recent queries window will show you the last 10 queries you've executed. Double click a query to copy
it to the SOQL query textbox. Watch the recent queries list animate the changes as you run new queries!.
SOSL queries work exactly the same way, type the SOSL query into the query box and hit query.

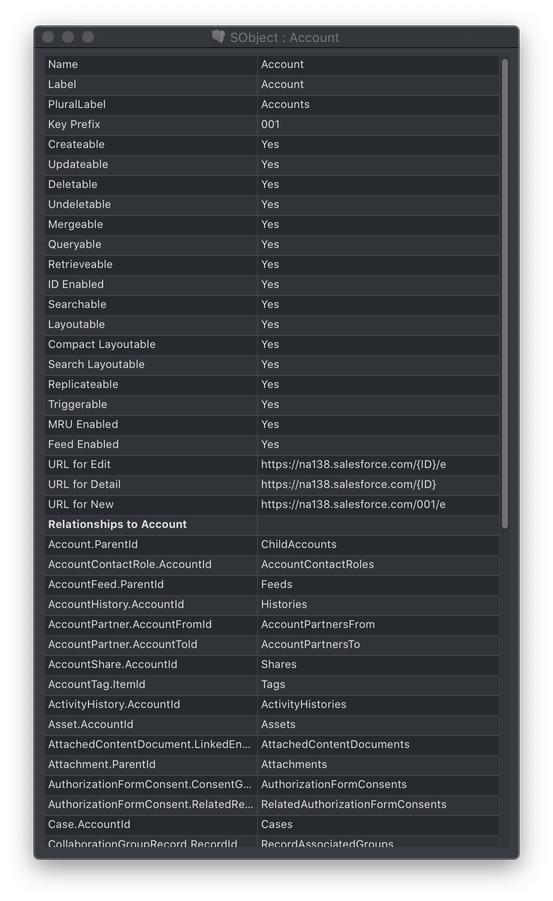 The list of SObjects & fields appear in the list view on the left hand side. Double click an SObject to
automatically create a query to select all the fields. The Details button at the top of the window will open/close
the details window which shows all the metadata about the currently selected SObject or field. The status footer
at the bottom of the window will also report the progress of the metadata fetching.
The object names will appear in gray while SoqlX is fetching (aka Describing) the metadata for your organization.
As the metadata is loaded the object names will change to a brighter color. The 'Refresh Metadata' option in the menu
can be used to reload all the metadata. (e.g. if you added a new custom object or field).
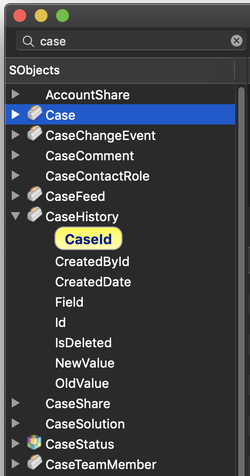 The search box above the SObject list can be used to filter & highlight entries in the list view.
Schema
- Hit the schema button in the toolbar to switch to a graphical view of your schema, showing how objects are related.
- Use the +/- widget inside each object to control the set of fields that appear (id + name field, all standard fields, all fields).
- Double click an object (or select from the list view) to make that the primary object of the view.
- Right click on any object in the listview and pick 'generate schema report' to generate the schema report for that object, this contains the graphical schema view, along with a table detailing all the fields for the object, you can print or export to PDF the schema report.

Apex
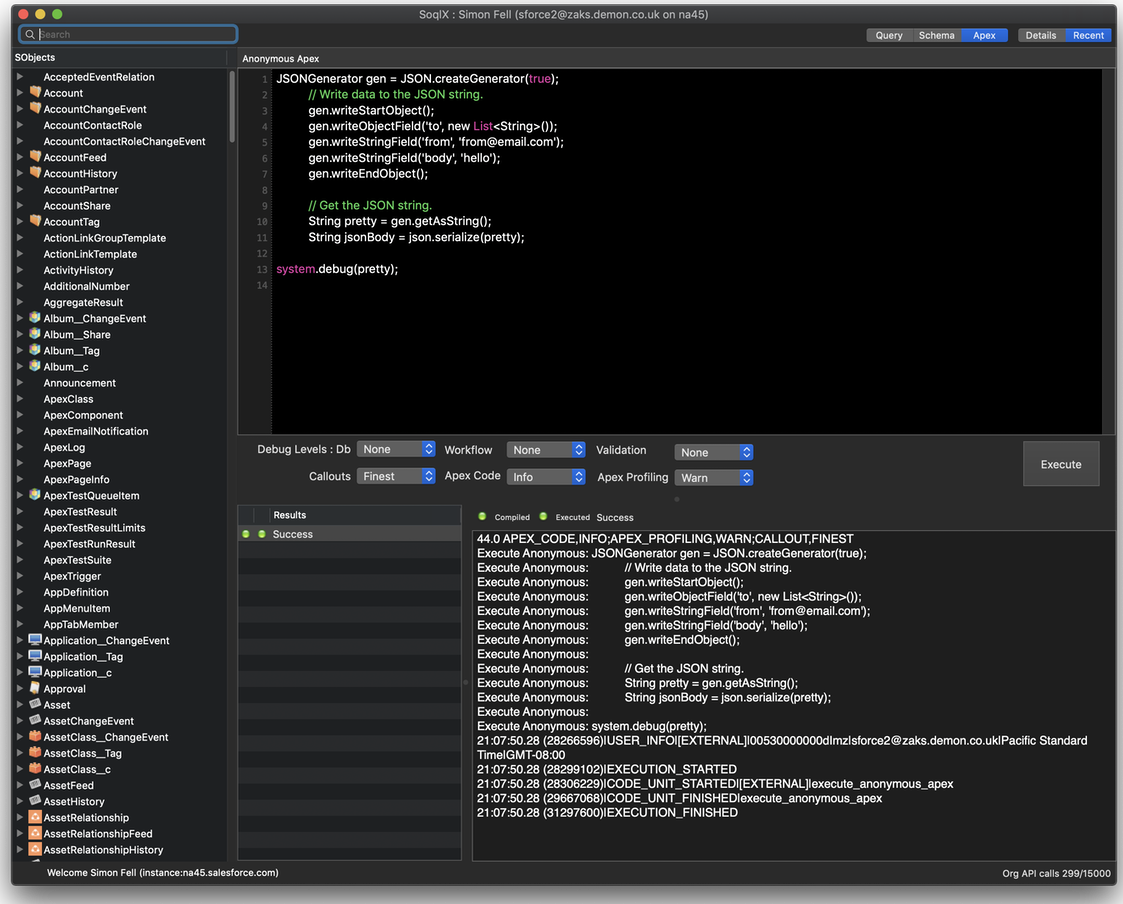
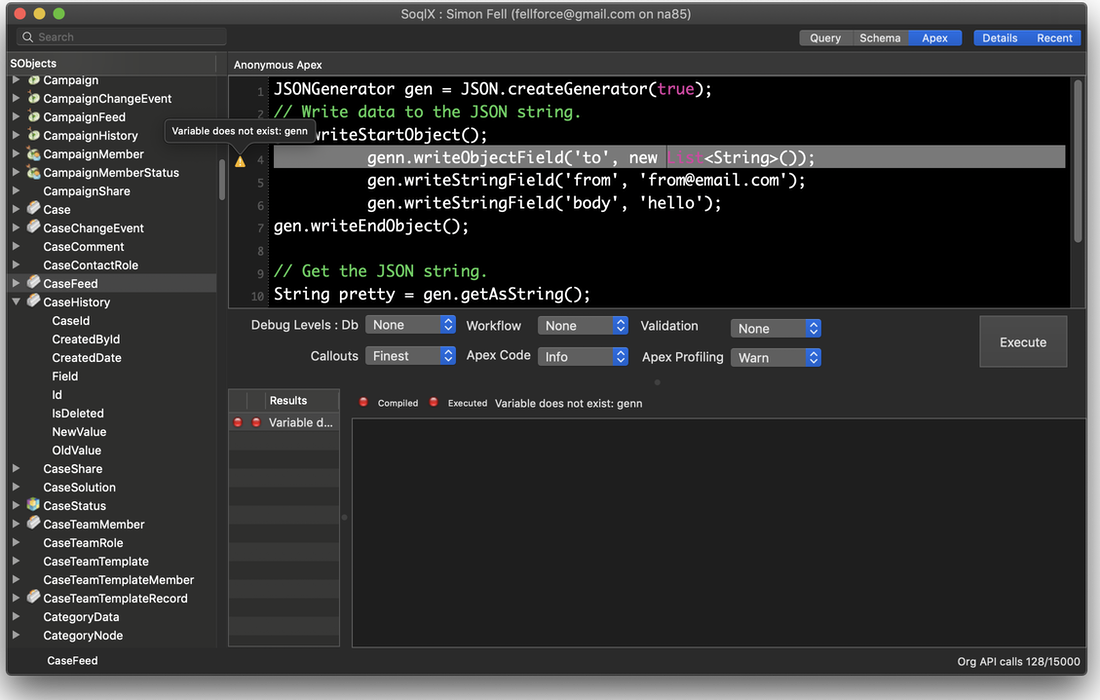
Click the Apex button in the toolbar to switch to the anonymous apex window. From here you can enter your apex, hit `Execute` and see the debug output in the bottom right area. If there's an error in your apex it'll be highlighted. The different log level options in the middle can be used to control the amount of debug logging generated.
You can use the Save/Open File menu options to Save and Load your anonymous apex script.
Preferences
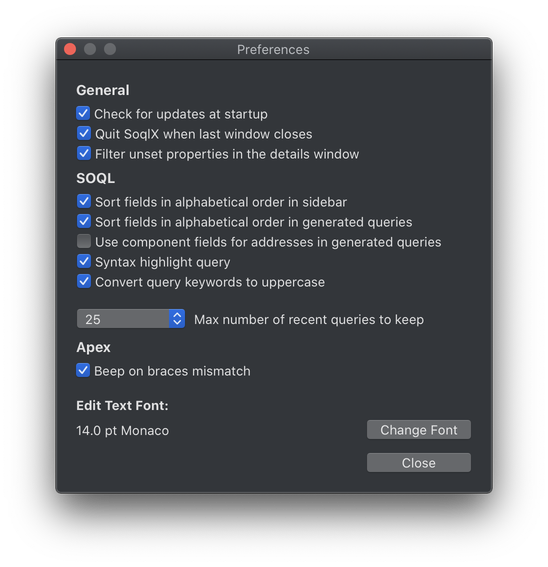
The Preferences window can be opened by selecting Preferences from the SoqlXplorer menu.
If "Check for updates" is enabled, SoqlX will check to see if there's an update available when you launch it.
It does this check at most once a day. If there is an update available it'll show you the details and offer
to install it.
The Edit Text Font/Size preference adjusts the font used in the Query text area, the Apex text area and the Apex log.
Advanced
As of v3.1 it has the ability to launch SoqlX with an existing SessionID from the command line or other applications. This is aimed at developers who want to integrate SoqlX more closely with their tools. For example integrating it with Salesforce-DX (See this issue for details).
The custom URL schema is `soqlx` and it expected to receive a server name and session Id.
    soqlx://<ServerHostGoesHere>/sid/<SessionIdGoesHere>

    This can be used from the command line using the open command, e.g.
    open 'soqlx://na45.salesforce.com/sid/00D300000000QSf!AQwAQBW2zsIkQE_tIUx33T9StPuMlZ5X7hpcFWYXjJ3xG7Ckhb7zLEThisIsnotARealSessionID'

    SessionIDs typically have shell metachars in, hence the ' quoting used.
Got questions, or suggestions for new features, catch me on twitter,
or log an issue in the Github project.